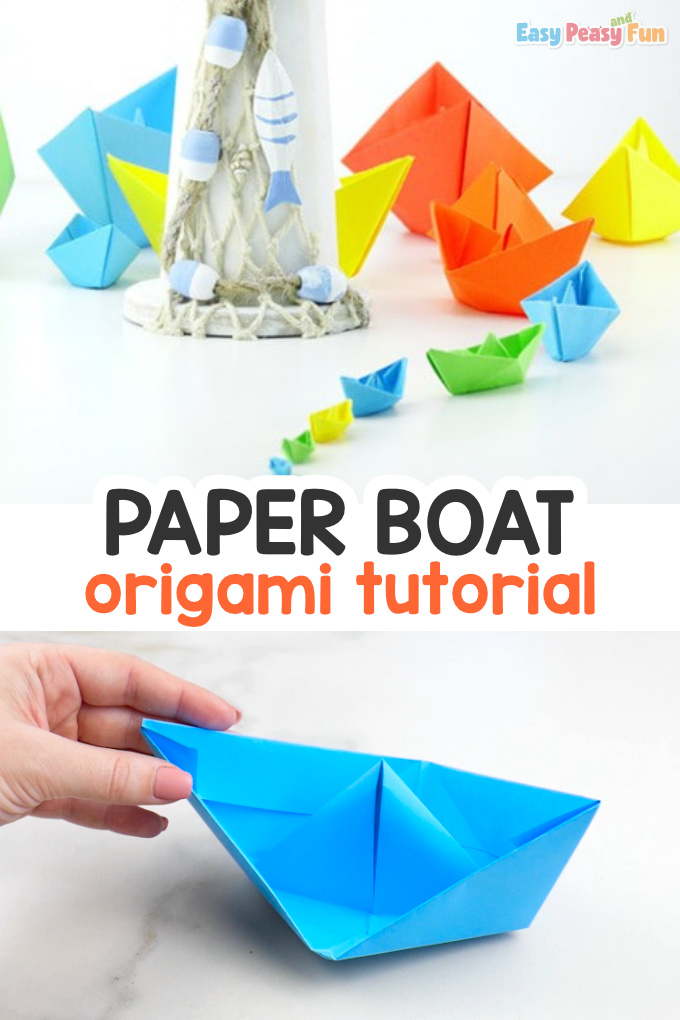
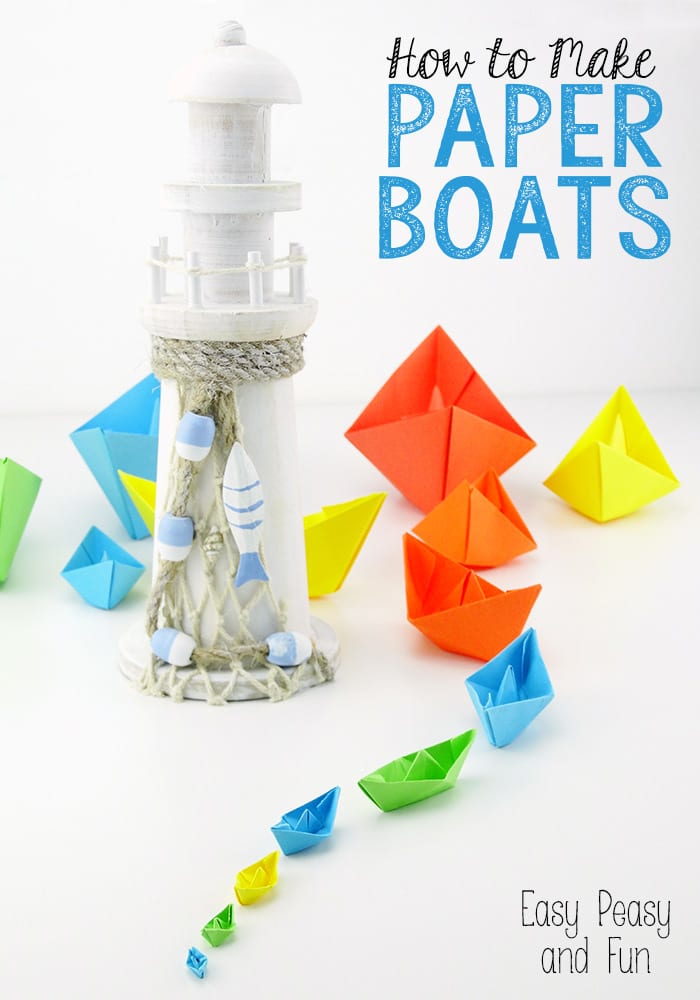
 We love doing simple origami and this time we’re going to learn how to make a paper boat – a summer favorite! Thank you Andreja Vucajnk from Easy Peasy and Fun again for your endless amazing craft ideas.

How to Make a Paper Boat
All you need is a sheet of paper letter sized or A4. Regular print paper is perfect for this project. Use as many colors as possible.

Start off with a sheet of paper and fold it in half downwards.
Fold in half again as shown on the second image (you don’t need to make the crease from top to bottom – you just need to mark the center).
Bring corners to the center so that you get a triangle shape with a rectangle under it.
Fold the rectangle part under the triangle upwards (as shown with the purple spots) – flip your origami and do the same on the other side.

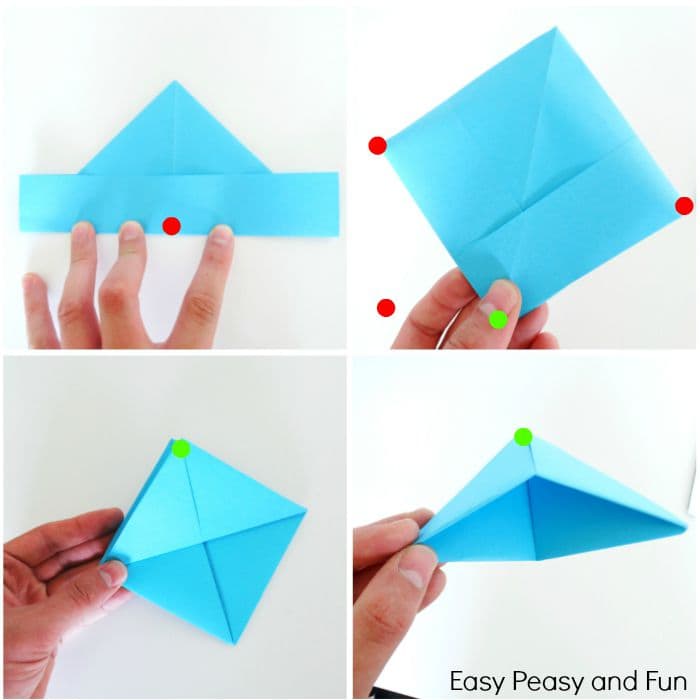
Grab the center of the triangle shape as indicated on the first image above with the red spot and pull both sides (holding the red spot) out. Flatten.
You’ll get the shape as shown on the second image above (ignore that red spot in the left bottom corner – I have no idea how that one came there haha).
Fold the front layer up (as shown with the green spot) flip the origami boat to be and do the same with the back layer. You’ll get a triangle shape.
Pull the sides outwards and you’ll again get the square shape as shown on the first image bellow.

Slowly pull the top parts outwards and you have your paper boat!

English Storytime!

Thursday, 26th 2020. English Storytime, Ms. Rous is reading ‘George and Ghost’ Book by Catriona Hoy.
Thai Storytime!
Friday, 27th March 2020, Thai Storytime, Mister Bank is reading ‘สมาชิกใหม่บ้านต้นไม้ 10 ชั้น’ by บุชิกะ เอ็ตสึโกะ
Accessing Storytime Videos:
For Students please visit Firefly to access content.
For Parents of Pre-Prep students please visit app.seesaw.me and add code BWNH TLUO to access content. (The code expires on April 1st, 2020 but we will share the new code at that point).


